Instant Pot Mashed Cauliflower (3 ways!)
This post may contain affiliate links. As an Amazon associate, I earn from qualifying purchases. Read our full disclosure statement.
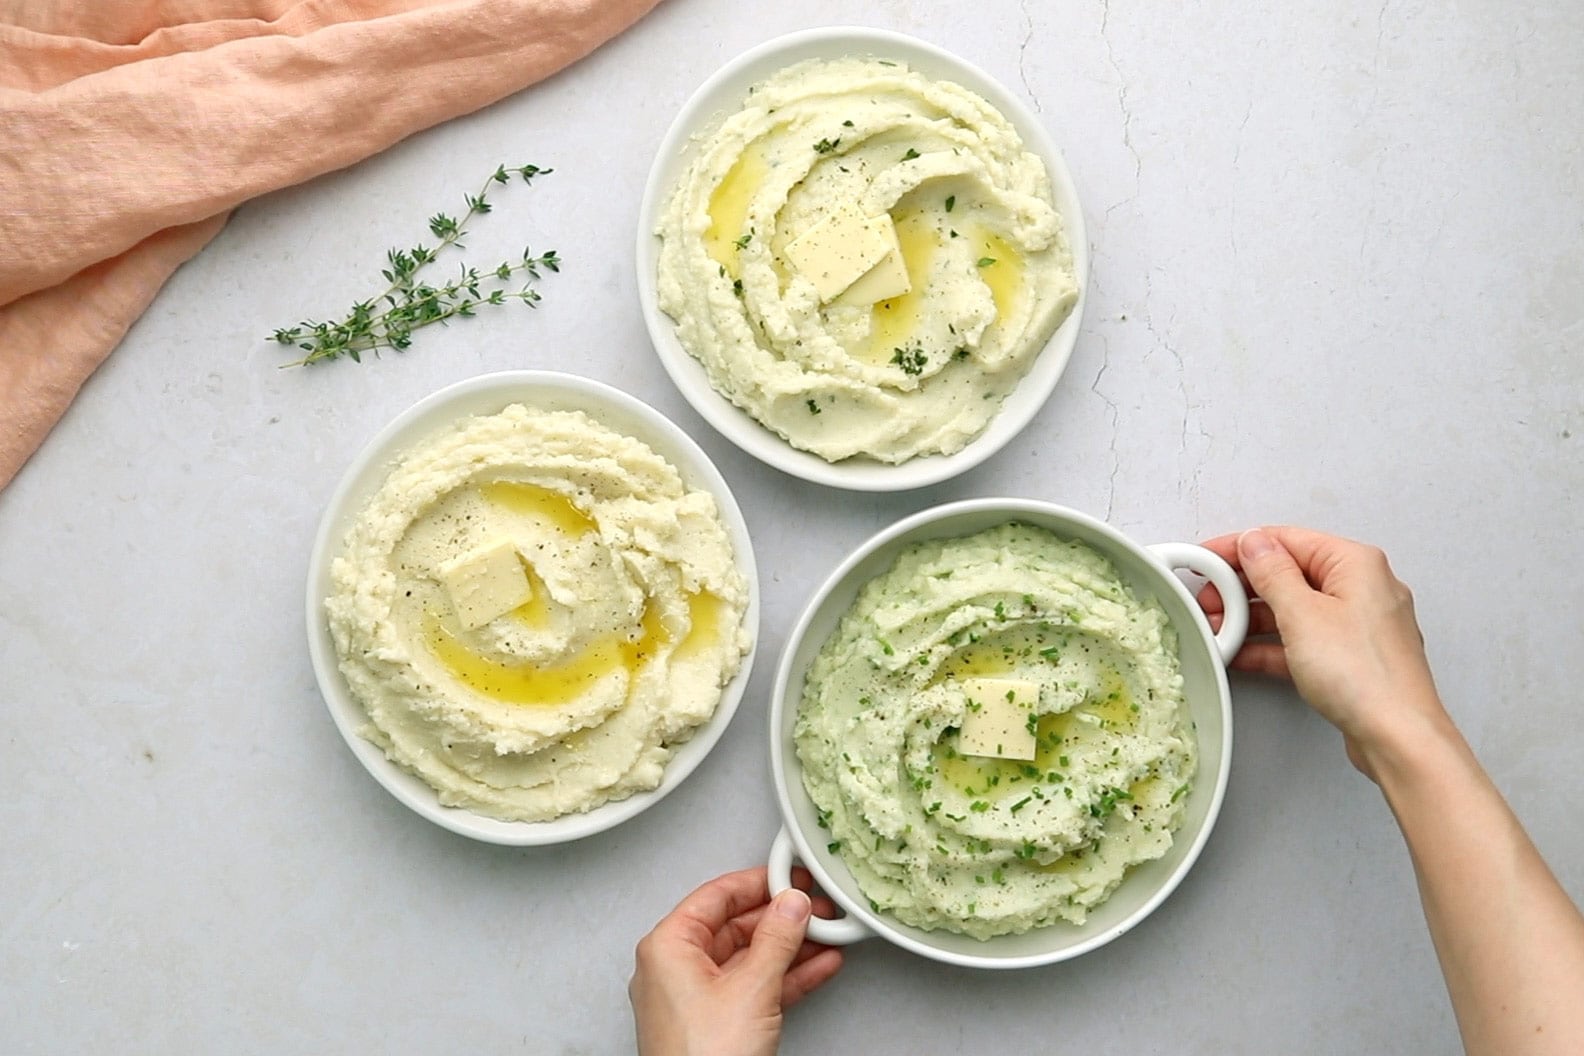
With three different flavour options (herb & garlic, sour cream & chive, garlic parmesan), this Instant Pot Mashed Cauliflower is an easy and delicious way to enjoy cauliflower. Perfect as a make-ahead side dish!
Check out the similar flavour combinations of our easy no-drain Instant Pot Mashed Potatoes!
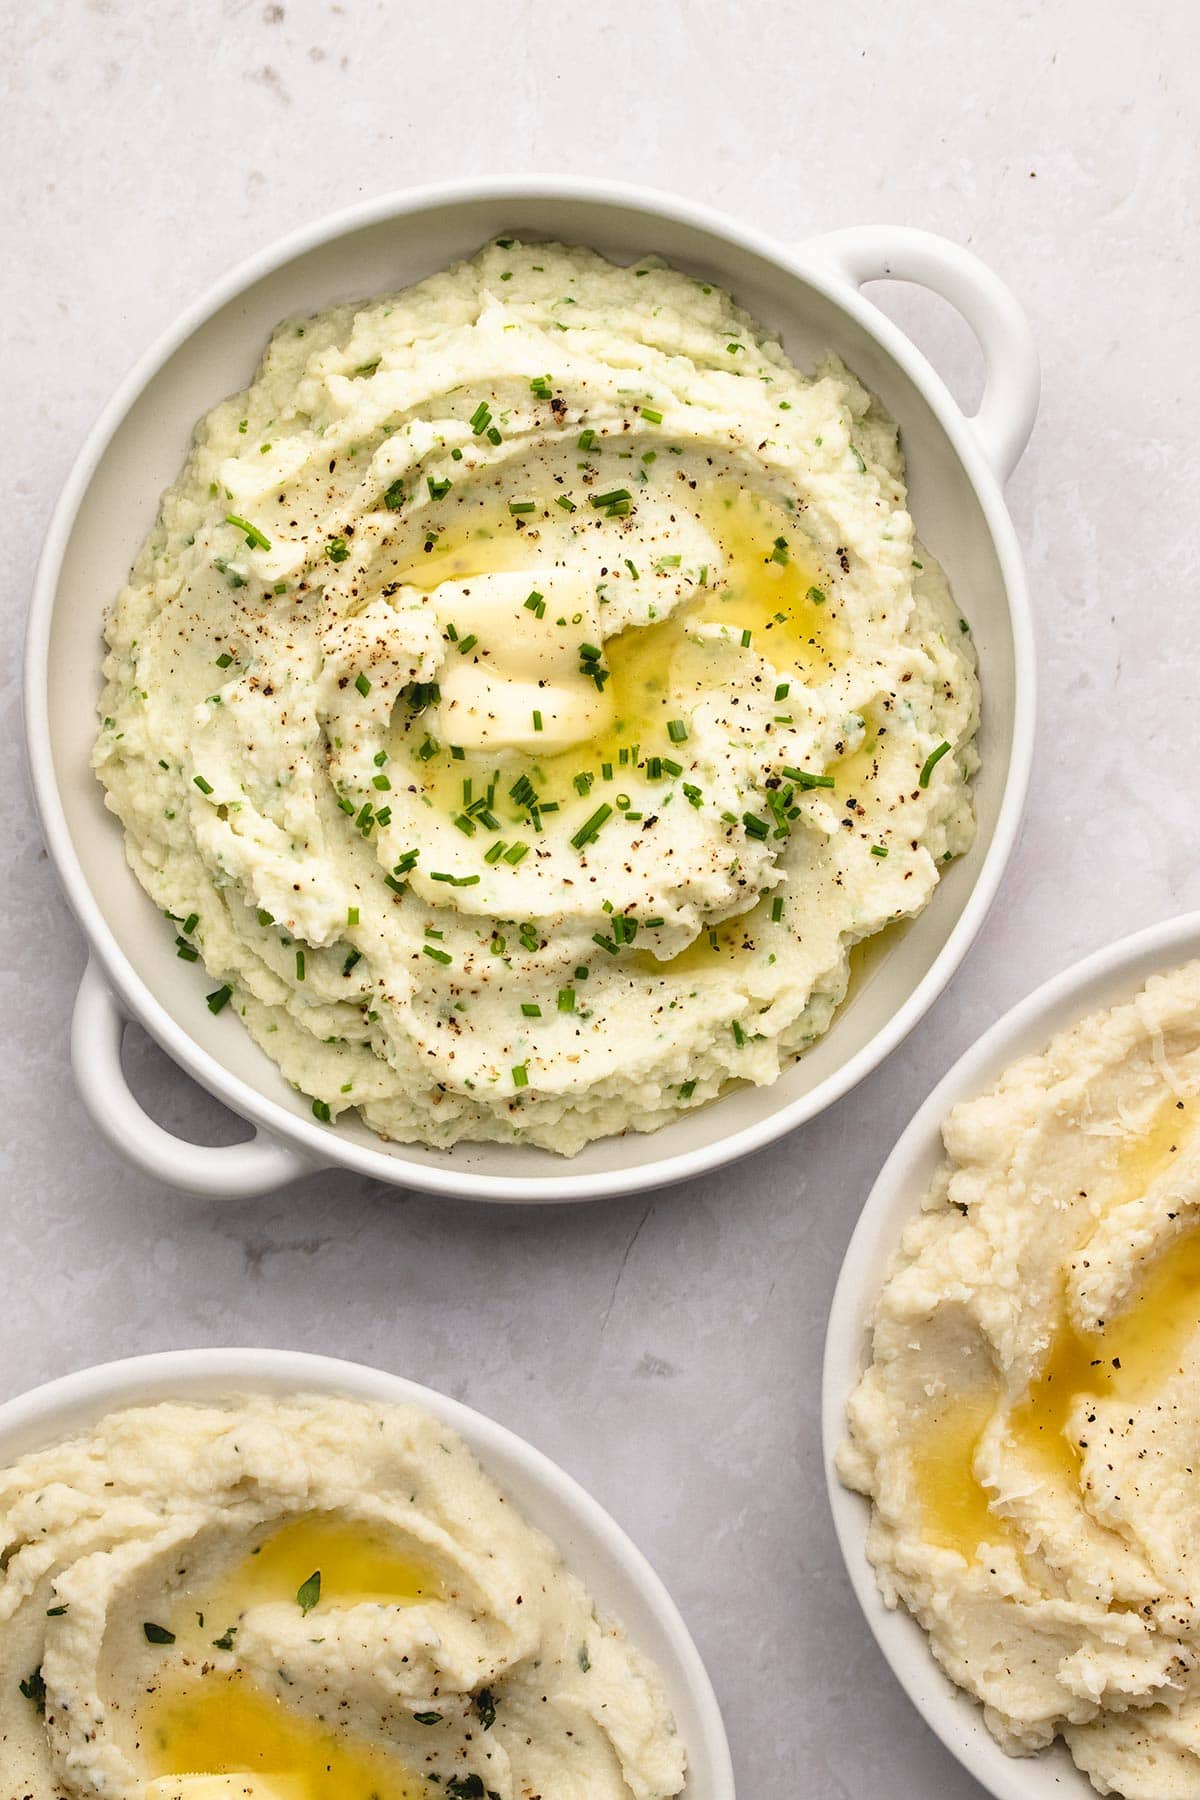
Move over, potatoes! Whether you’re following a low carb or keto diet, or are just looking for a delicious alternative to potatoes, this mashed cauliflower is it! I’m not even sure it’s fair to compare this cauliflower mash to potatoes; they’re just so tasty in their own right!
This Instant Pot Mashed Cauliflower is fast enough to make on a weeknight, but it’s also a great addition to a holiday meal. Make them ahead of time to save time and kitchen space at your next holiday gathering!
Ingredients
Be sure to check out the recipe card below for exact quantities with detailed instructions and tips!
For every flavour
- Cauliflower – cut into really large florets.
- Garlic – whole cloves; I like to use it in every flavour, but you can skip it and still get a tasty result.
- Butter – for creaminess. You can also add a pat on top when serving for a nice presentation.
- Salt and pepper
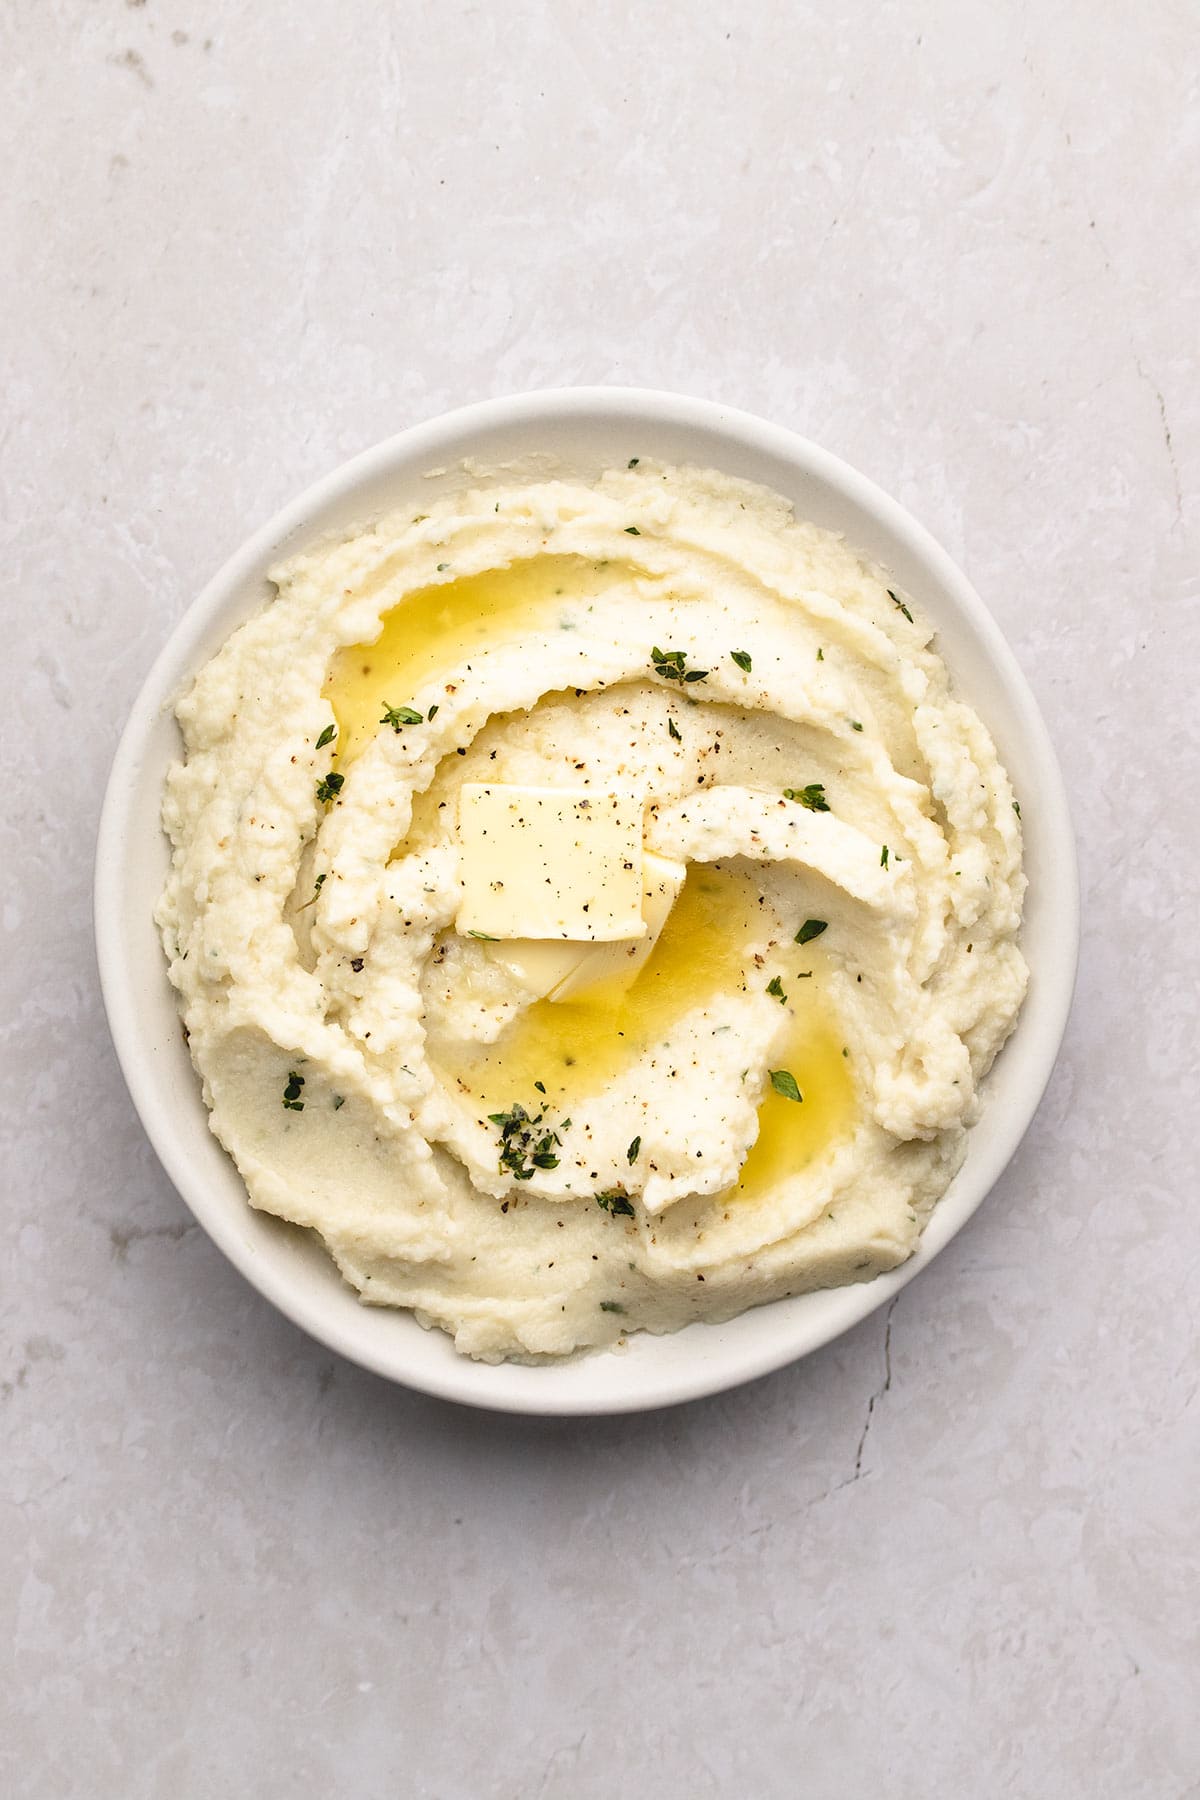
For herb and garlic
Add a teaspoon of your fresh herb of choice, finely chopped. I used thyme for mine. Keep a bit extra for garnish.
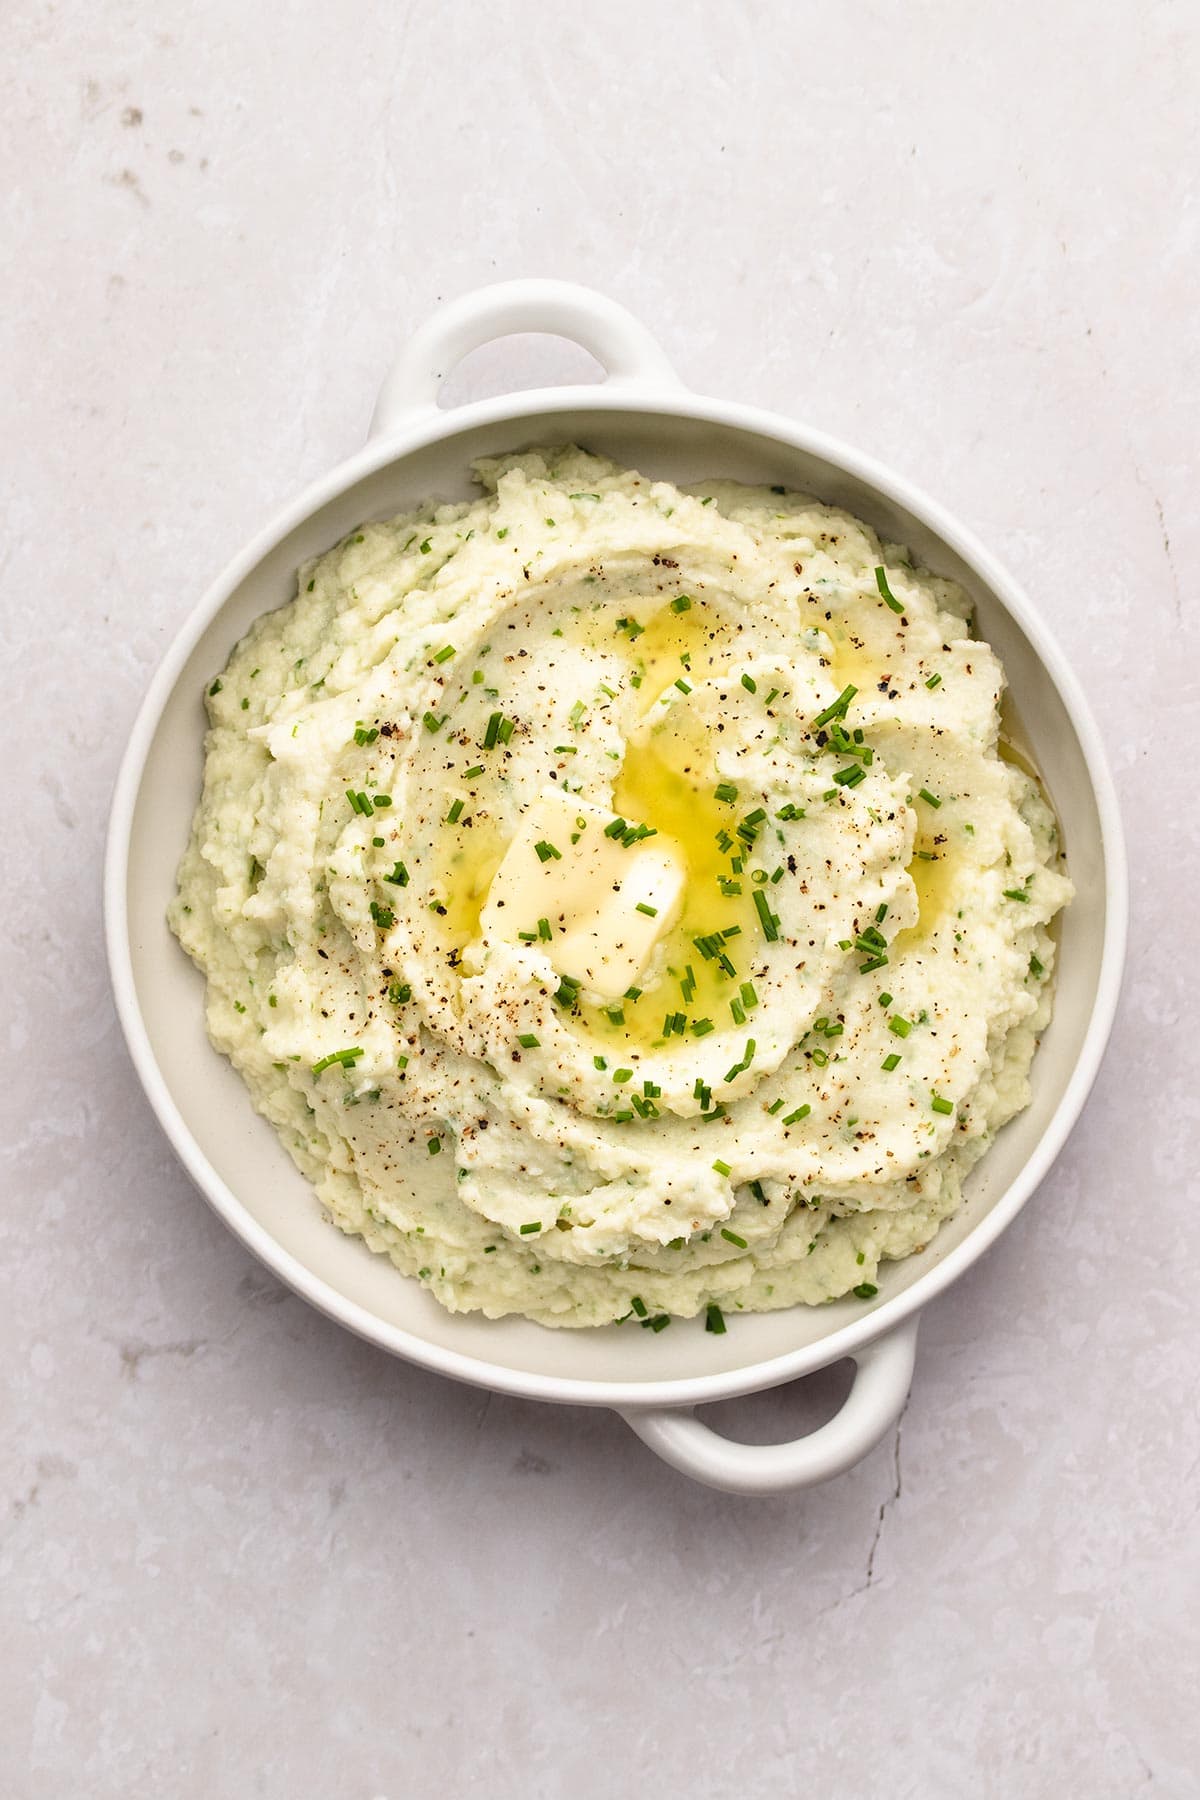
For sour cream and chive
- Chives – finely chopped. Prepare a little extra for sprinkling on top.
- Sour cream – you can also use Greek yogurt as a lower fat option.
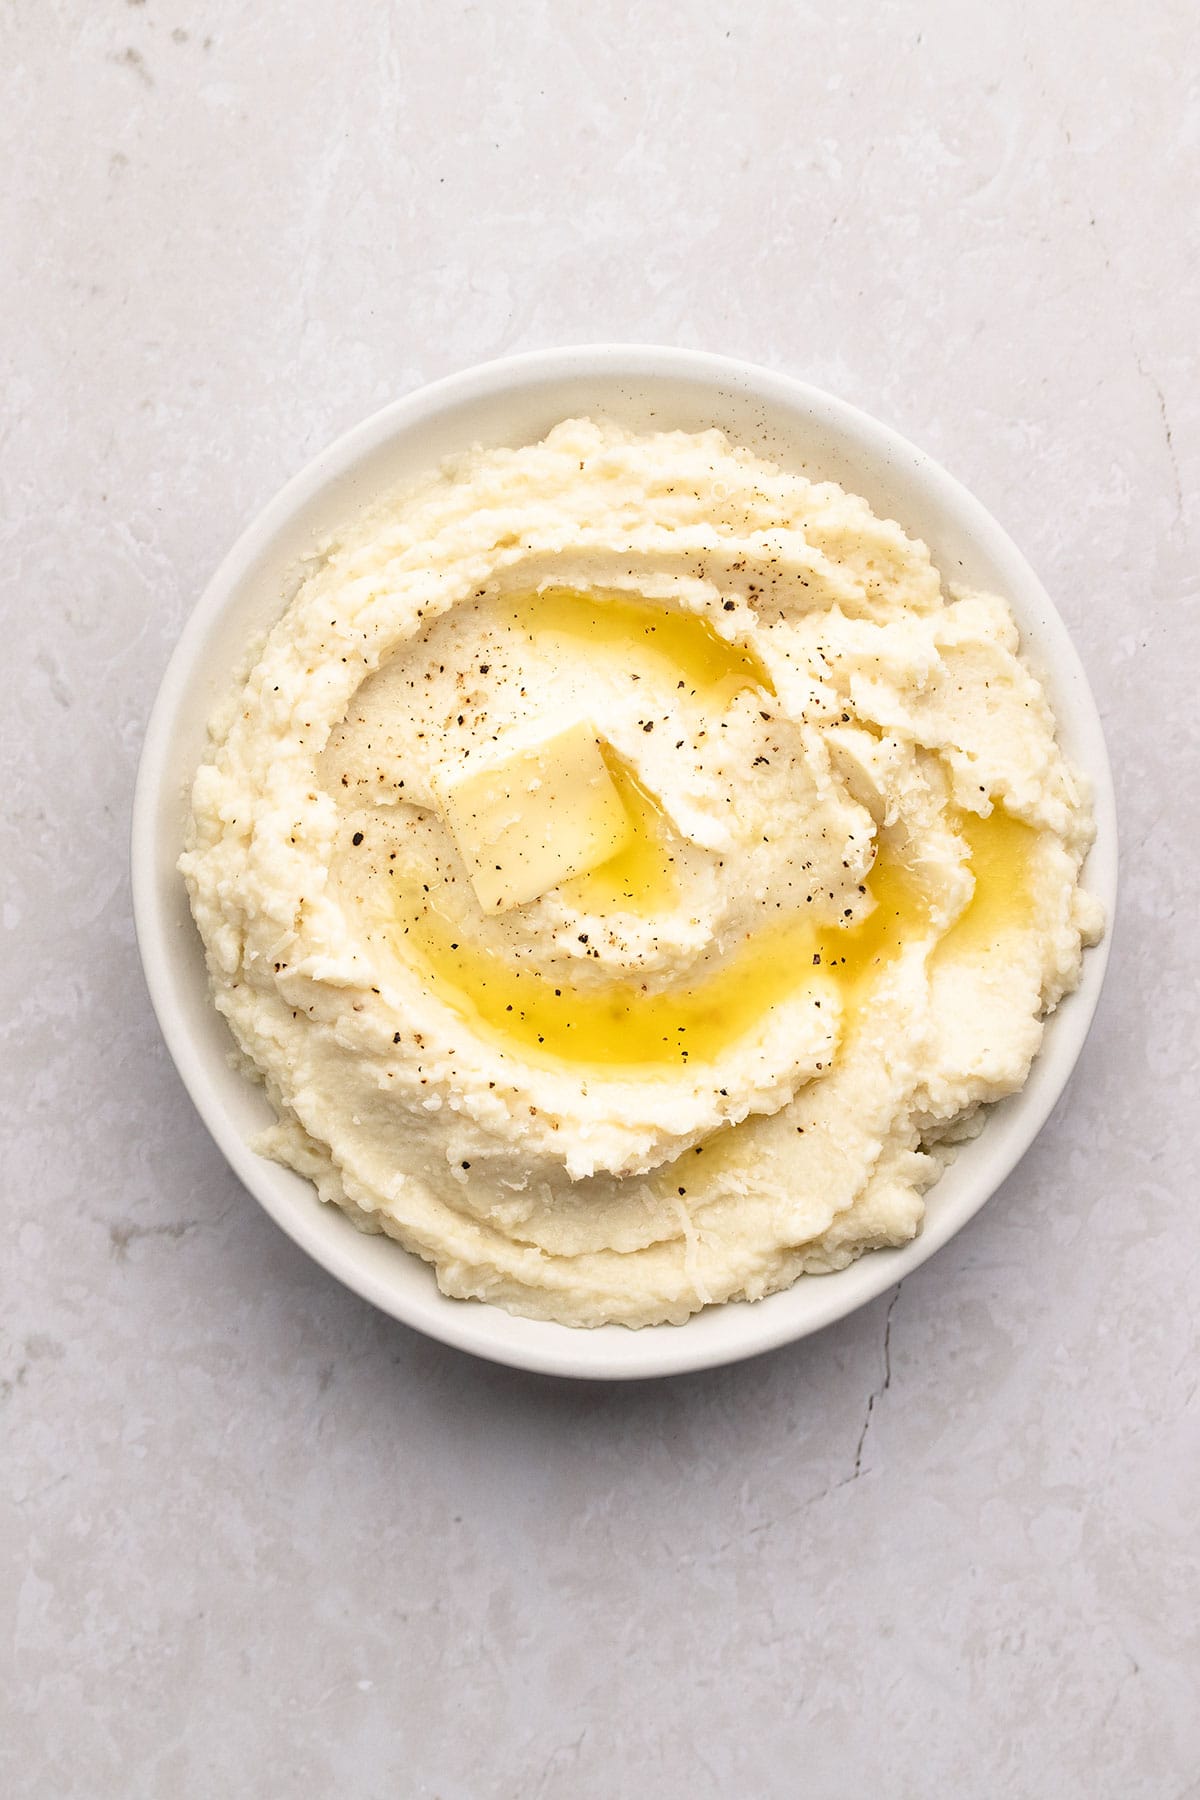
For garlic parmesan
This one is easy – just add some freshly grated parmesan!
How to make it
First, pressure cook the cauliflower and garlic.
Pour the water into the insert and place the steamer basket inside. Add the cauliflower and place the garlic on top. Close the lid, set the vent to sealing and pressure cook on Manual High pressure for 3 minutes. Quick release the pressure.
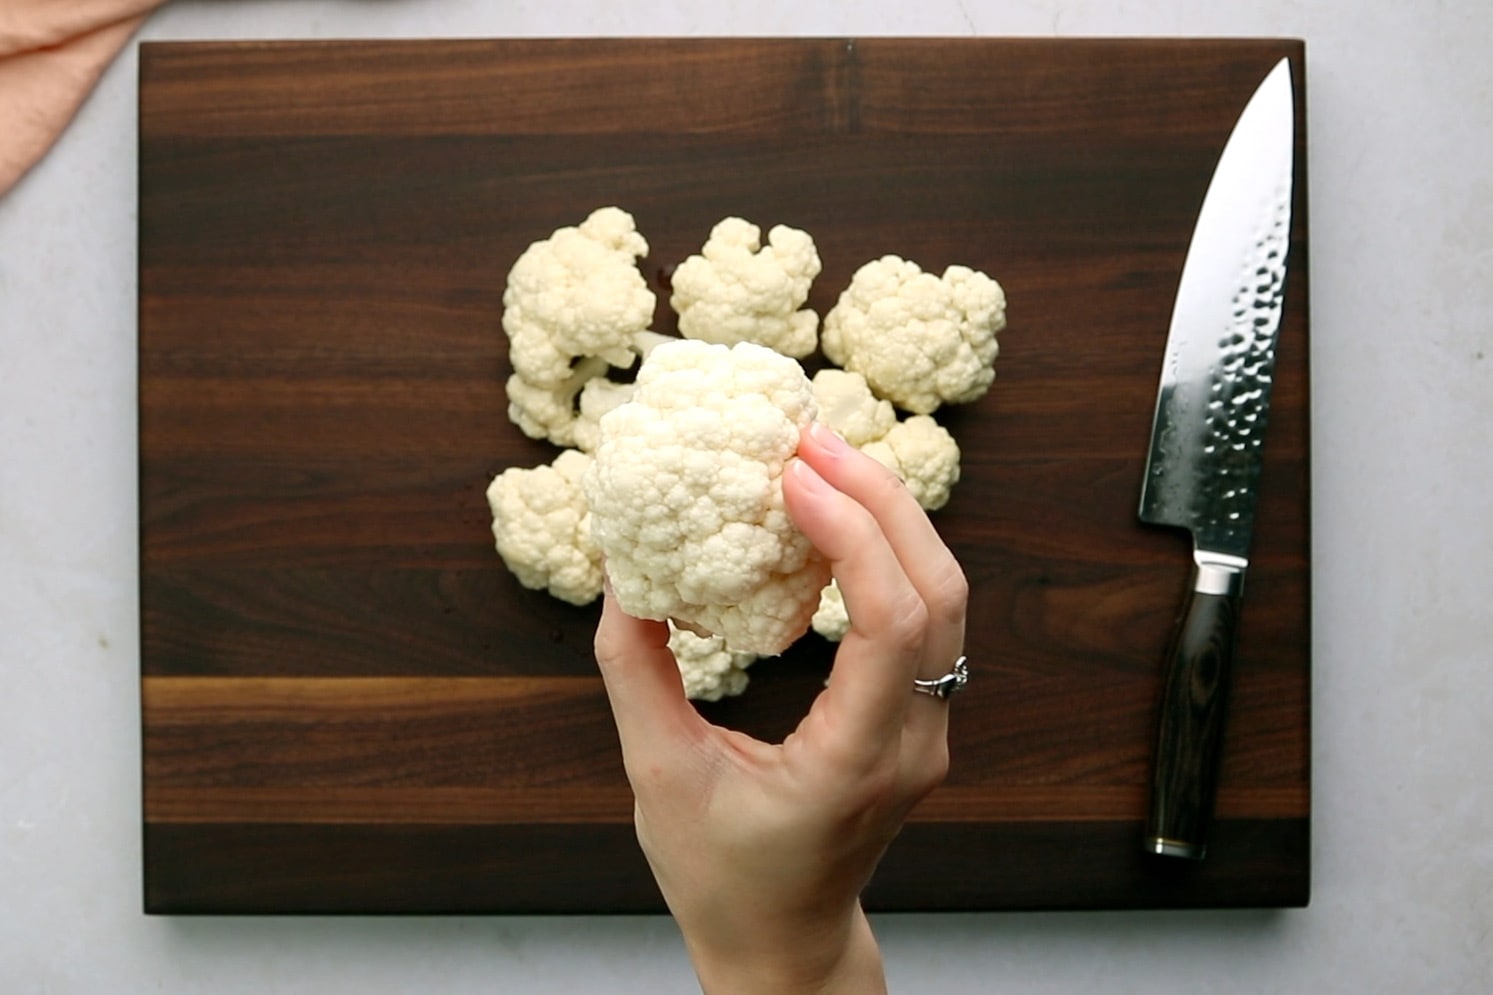
Second, add some flavour.
Carefully transfer the cooked cauliflower and garlic to the food processor (kitchen tongs help to do this safely). Add the butter, salt and pepper, along with the ingredients for your chosen flavour.
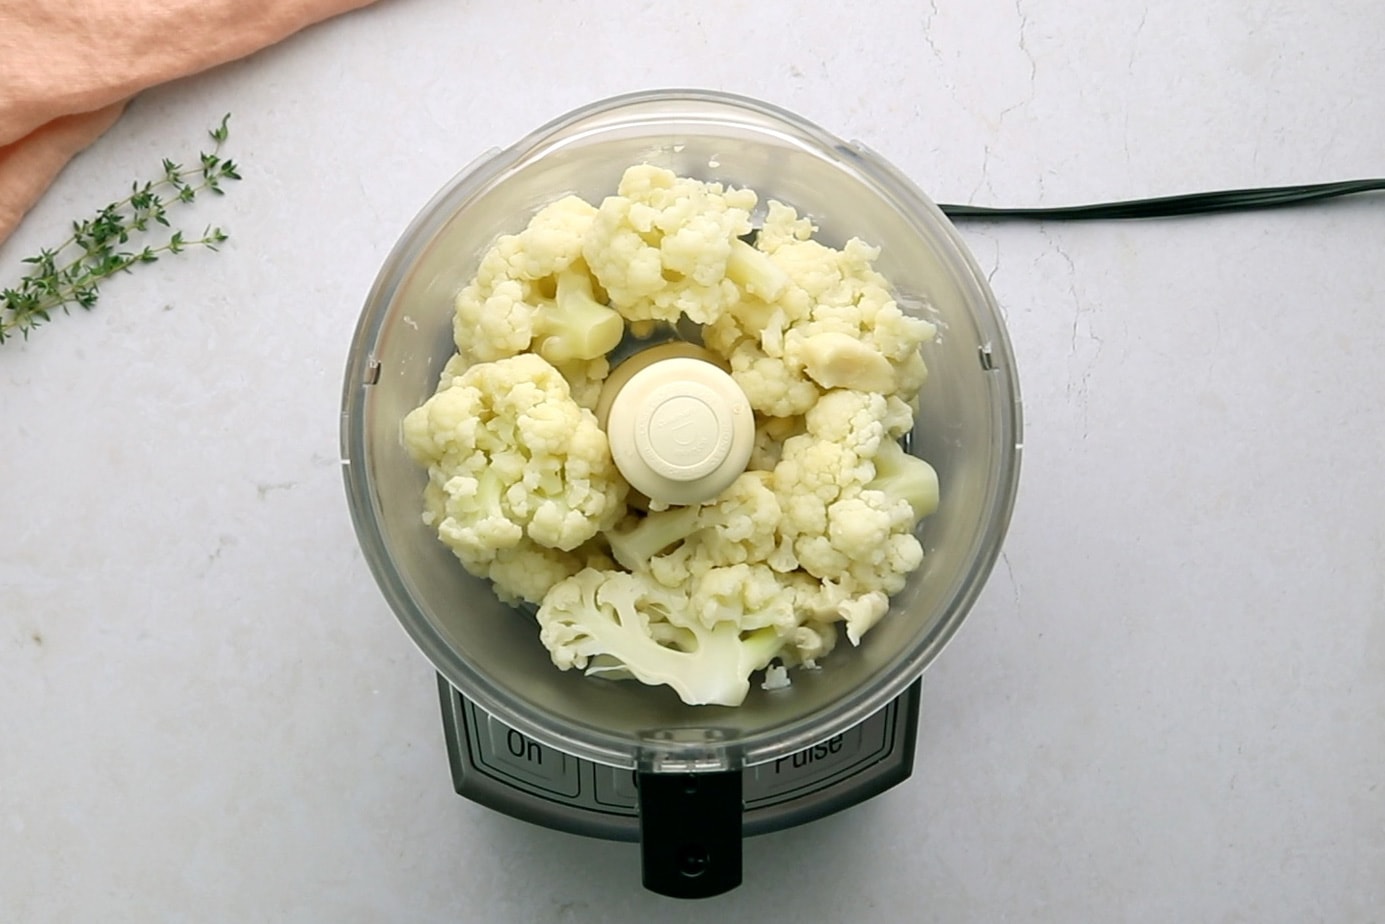
Third, process!
Process all the ingredients together for about 10 seconds. Scrape down the sides with a spatula, and pulse the food processor a few more times until you reach your desired texture and all ingredients are well combined.
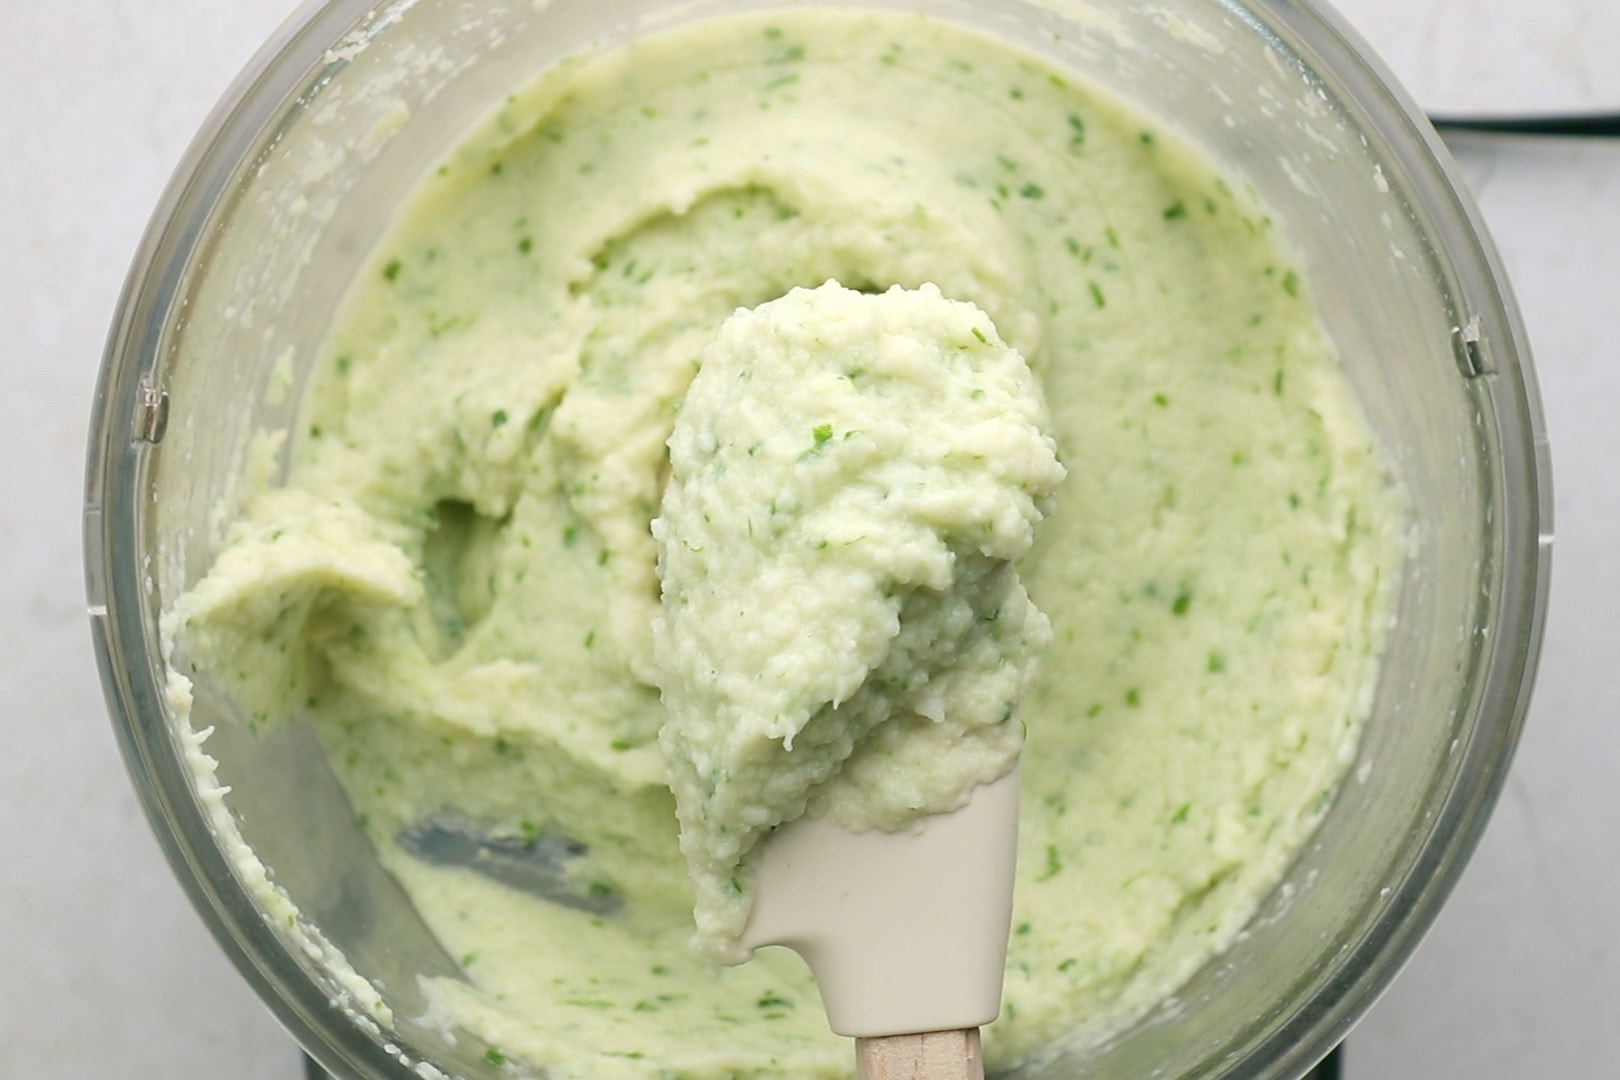
Finally, serve!
Taste and season with additional salt and pepper, if necessary. Serve immediately, garnished with additional butter and herbs, if desired.
Can I make mashed cauliflower ahead of time?
Yes! This recipe is perfect for meal prep or if you need to save time and space for a holiday meal. I like to store it in the serving dish in the fridge (covered tightly) and reheat in the microwave. Wait until the day of serving to top it with extra butter or garnish.
How do I reheat mashed cauliflower?
It reheats really well in the microwave! I like to use the reheat function and keep it covered. Give it a stir part way through to make sure it’s heating evenly. It’s always a good idea to make sure it reheats to an internal temperature of at least 165 °F.
If you’d like to avoid the microwave, you can reheat it over medium/low heat on the stove top in a sauce pan. Stir it frequently to ensure it is heated evenly.
Can I freeze it?
Yes! Cool completely and store it in an airtight container in the freezer. Eat it within 3 months. To thaw, leave it in the refrigerator overnight.
Do I need to use a food processor?
For the smoothest results, I do recommend using a food processor. If you don’t have one, you can use a potato masher to mash the cauliflower, but it will have a more rustic texture with some larger pieces.
Tips for success
Use a steamer basket. You want to keep the cauliflower out of the water so that it doesn’t get water logged. This will help ensure it has a nice thick texture after it is processed. I used a mesh-style steamer basket (a similar one is linked below in the recipe card), but any steamer basket (stainless steel or silicone) will work.
You could also use just the trivet that comes with your Instant Pot, but make sure your cauliflower is in really large pieces so they don’t fall into the water. Try to keep your garlic on top too.
Cut the cauliflower into large pieces before cooking. You could technically cook the head of cauliflower whole, but then I find it more awkward to transfer the whole head of cauliflower to the food processor (it would be hot and falling apart). It’s also easier to clean florets vs. the whole head before cooking.
Season to taste. I suggest a fairly small amount of salt in the recipe as everyone has different tastes. I typically add a bit more to mine once all the ingredients are processed together. If it feels like it’s missing something, it’s probably salt!
Be careful if using fresh rosemary. For most herbs, about a teaspoon or so will work (like thyme or basil), but rosemary can be very overpowering. Start with a little bit (1/4-1/2 teaspoon) and taste before adding more.
More side dish recipes
- Instant Pot Lemon Asparagus Risotto
- Green Beans Almondine
- Southwest Sweet Potato, Kale and Black Bean Skillet
- Golden Instant Pot Cauliflower Soup

Instant Pot Mashed Cauliflower (3 ways!)
Click stars to rate now! ↑
Ingredients
For all flavours
- 1 cup water (see note 1)
- 1 large head cauliflower, roughly chopped into large florets
- 5 cloves garlic, whole
- 3 tablespoons salted butter
- 1/2 teaspoon sea salt (plus more to taste)
- a few turns of freshly ground black pepper
For herb and garlic
- 1 teaspoon finely chopped fresh herbs (I used thyme) (plus more for garnish; see note 2)
For sour cream and chive
- 3 tablespoons finely chopped chives (plus more for garnish)
- 1 tablespoon sour cream or plain Greek yogurt
For garlic parmesan
- 1/2 cup freshly grated parmesan cheese
Instructions
- Pour the water into the Instant Pot insert and place the steamer basket inside.
- Place the large florets of cauliflower in the steamer basket. Add whole garlic cloves on top.
- Close the lid and set the vent to sealing. Pressure cook on Manual High pressure for 3 minutes. At the end of cooking time, quick release the pressure.
- Carefully transfer the cooked cauliflower and garlic to a food processor. Add the butter, salt and pepper, as well as the ingredients for your chosen flavour.
- Process for about 10 seconds, scrape down the sides, then pulse a few more times until the cauliflower reaches your desired texture. Taste and season with additional salt, if necessary.
- Serve immediately with additional butter and herbs for garnish, if desired. Store any leftovers in a sealed container in the refrigerator and eat within 4 days.
Notes
- If using an 8-quart Instant Pot, use 1.5 cups water.
- If using fresh rosemary, start with 1/4-1/2 teaspoon as it has a very strong flavour.
- This recipe can be doubled in an 8-quart Instant Pot. Double all ingredients, except the water.
- Nutrition estimate reflects herb and garlic flavour, without additional garnish.
- Inactive time indicates the time it takes for the Instant Pot to come to pressure and release pressure.
- This recipe was tested in both 6-quart and 8-quart Instant Pot models.
Nutrition Estimate
Did you make this recipe?
Please leave a review below and share your results!
If you enjoyed this recipe, please leave a review below!
I’d love to hear from you!

Hey, I’m Laura!
Creator of The Recipe Well
If you’re looking for easy meals and Instant Pot recipes, you’re in the right place! I use my nutrition degree to create simple, approachable recipes that will help you find your happy place in the kitchen.


Really tasty! We made the sour cream and chive flavor and absolutely loved it. Thank you!
So glad you enjoyed it! Thanks for taking the time to leave a review!